Setup Raspberry Pi Pico for MAC Address Display#
Intro#
This guide explains how to set up a Raspberry Pi Pico with an OLED display to show the MAC address of a Raspberry Pi when powered on. This is useful for commissioning new Raspberry Pi usb-remote servers.
In particular, if you are using this at DLS, we expect the Pi Server to be deployed into a beamline instrumentation network. You need the Mac address of the Pi to create a DHCP reservation for it in Infoblox. Having the Pico display the MAC address means that your commissioning process is:
Put a pre-configured Raspberry Pi usb-remote server microSD card in a Raspberry Pi and power it on.
Plug the Pico into the Raspberry Pi USB port and wait for the MAC address to be displayed.
Use the displayed MAC address to create a DHCP reservation in Infoblox.
Take the Raspberry Pi to the beamline, connect it to the instrumentation network and power it on.
Hardware Required#
Raspberry Pi Pico (with micro USB connector)
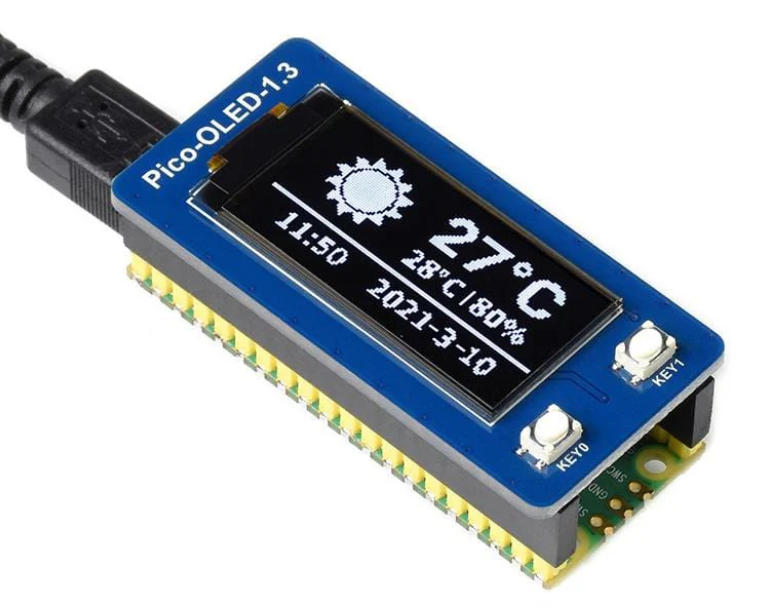
A display for the Pico e.g. 1.3” I2C OLED Display
The next heading provides code for this specific display - other displays will need a small amount of code modification
Code on the Pico#
flash the Pico with the UF2 for MicroPython from https://micropython.org/download/RPI_PICO/
clone https://github.com/samveen/pico-oled-1.3-driver and copy the python files to the Pico root filesystem
save the following code as
main.pyon the Pico root filesystem.
See https://www.waveshare.com/wiki/Pico-OLED-1.3 for more details on using the display.
import select
import sys

import PicoOled13

# Set up the poll object
poll_obj = select.poll()
poll_obj.register(sys.stdin, select.POLLIN)


def main():
    # Initialize the display
    display = PicoOled13.get()
    display.clear()
    display.text("Listening ...", 0, 0, 0xFFFF)
    display.show()

    sys.stdout.write("awaiting data ...\r")

    line = 0

    while True:
        # Wait for input on stdin, waiting for 1000 ms
        poll_results = poll_obj.poll(1000)
        if poll_results:
            # Read the data from stdin (read data coming from PC)
            data = sys.stdin.readline().strip()
            sys.stdout.write("received data: " + data + "\r")

            # Write the data to the display
            if len(data) > 0:
                if line == 0:
                    display.clear()
                display.text(data, 0, line * 10, 0xFFFF)
                line = (line + 1) % 7  # wrap around after 7 lines
                display.show()

main()
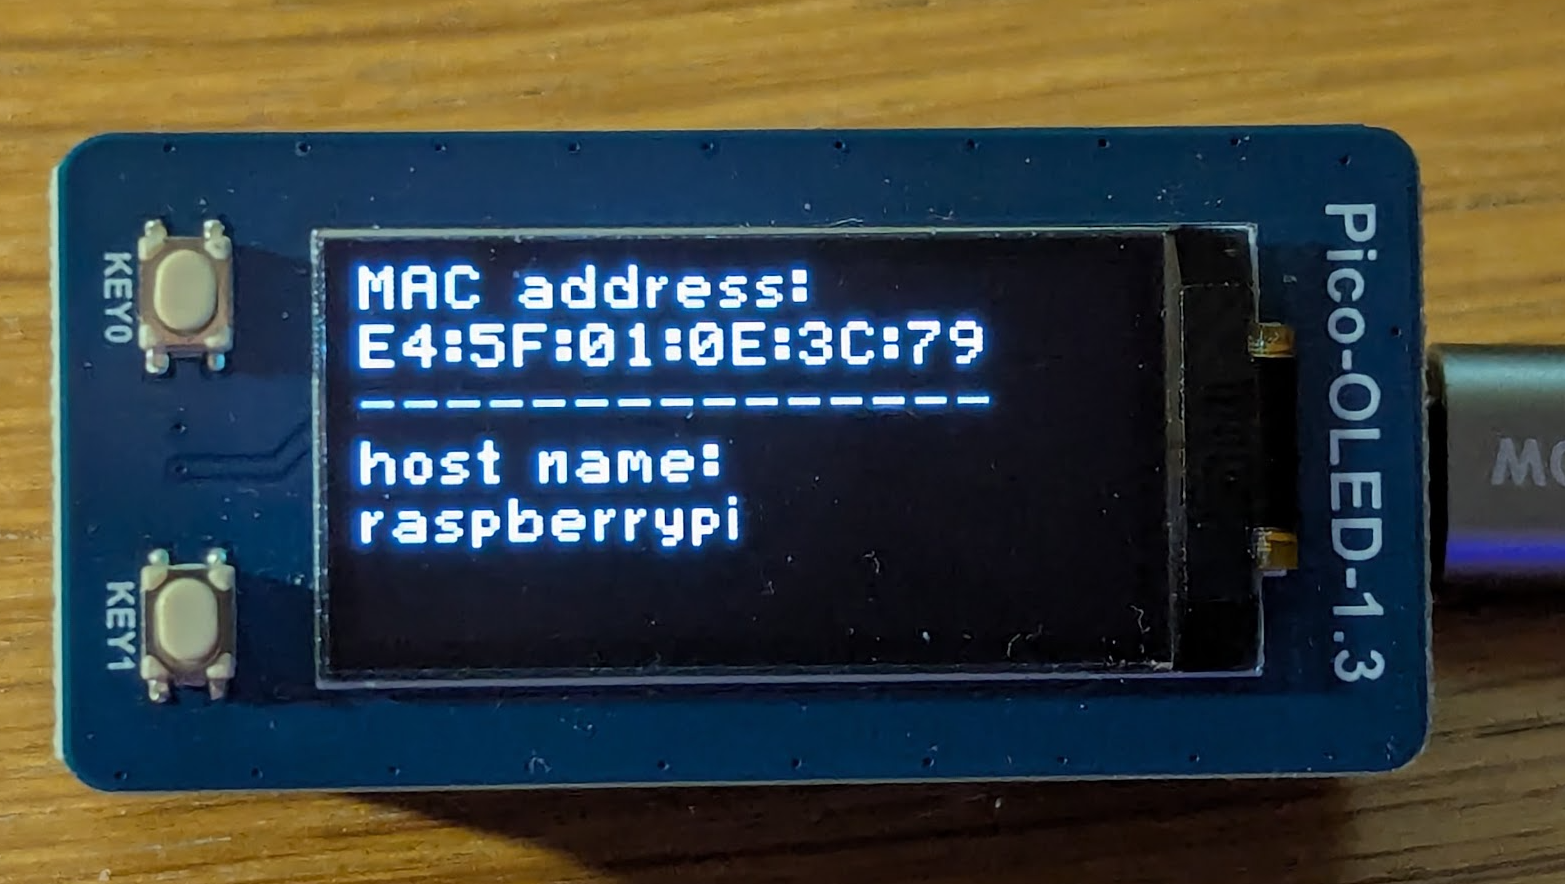
Sample Results#
When the Pico is connected to a Raspberry Pi usb-remote server, it will display output similar to the following: